Understanding Finish Trim: Types, Styles, and Applications
Finish trim plays a crucial role in elevating the aesthetic appeal and functional quality of interior spaces. It encompasses a variety of molding and trim elements that complete the look of door and window casings, baseboards, crown moldings, and other decorative accents. A well-chosen and expertly installed finish trim not only enhances a room’s architectural style but also provides a polished, professional appearance that reflects craftsmanship and attention to detail. Whether you’re undertaking a major renovation or a minor update, understanding the types, styles, and applications of finish trim is essential for achieving high-quality results. For those embarking on a home improvement project, exploring materials and design options can be made easier through trustworthy sources such as Finish trim options available in the market.
Common Wood Types Used for Finish Trim
Selecting the right wood type for finish trim is foundational to ensuring durability, aesthetic consistency, and ease of installation. The most popular choices include:
- Pine: A versatile, lightweight, and affordable softwood, pine is easy to work with and takes paint and stain well. Its natural knots and grains give a rustic look, making it popular in traditional and farmhouse-style interiors.
- Oak: Known for its strength and durability, oak offers a prominent grain pattern and accepts stain beautifully. Its longevity makes it suitable for high-traffic areas like hallways and living rooms.
- Maple: Featuring fine, consistent grain, maple is a hardwood that provides a smooth finish ideal for painted or stained trim. It’s favored in contemporary and modern interiors.
- Poplar: A cost-effective hardwood with a smooth texture, poplar is often used for painted trim due to its uniformity and ease of painting.
- Mahogany & Cherry: Premium hardwoods prized for their rich coloration and fine grain, often used in high-end custom trim projects.
The choice of wood impacts not only the appearance but also the installation process and maintenance requirements. In addition to natural wood, MDF (Medium Density Fiberboard) and PVC are alternative materials gaining popularity for their resistance to moisture and ease of customization, especially in bathrooms or kitchens.
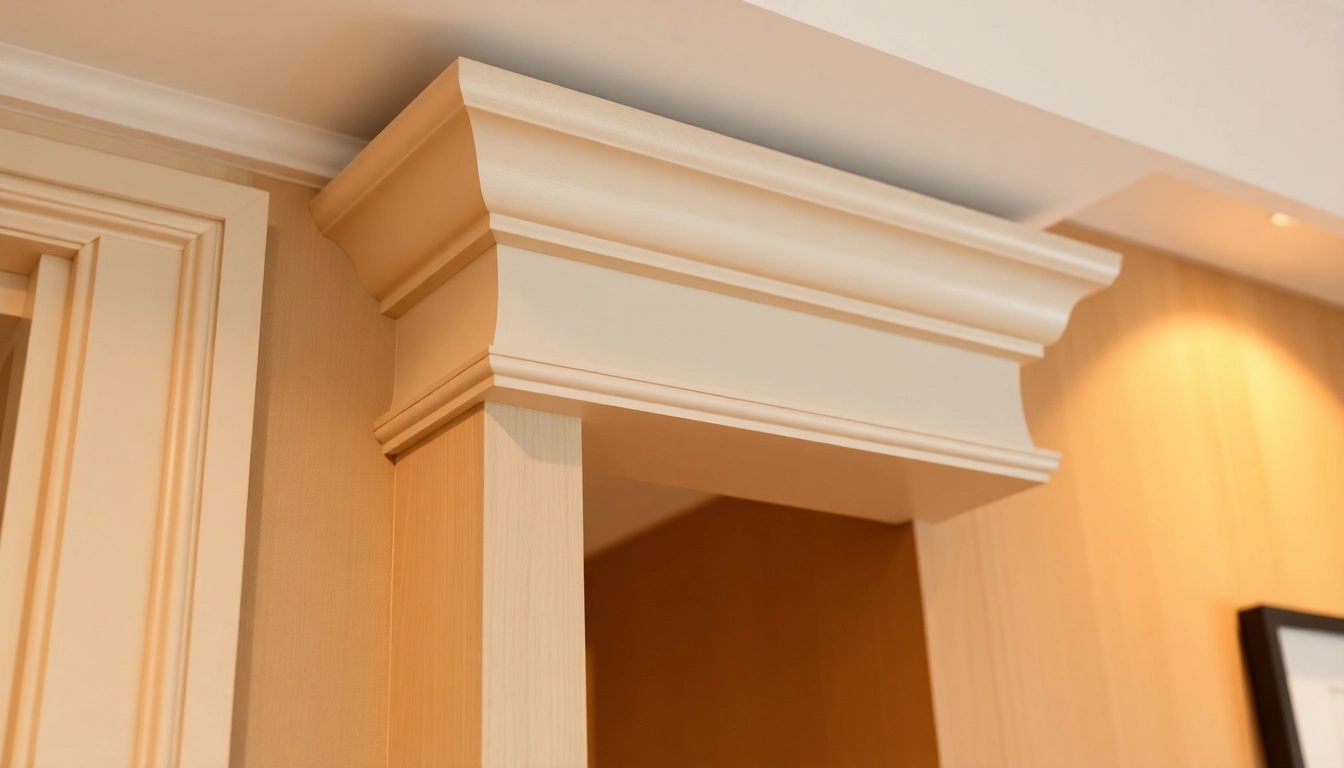
Popular Styles of Interior Finish Trim and Their Aesthetics
The style of finish trim you select significantly influences the overall interior ambiance. Here are some widely celebrated styles:
- Colonial Style: Characterized by flat, simple profiles with minimal detailing, colonial trim offers a clean yet traditional appearance suitable for historic homes or classic design themes.
- Craftsman & Arts & Crafts: Featuring broader profiles with subtle decorative elements like chamfers and beveled edges, these styles emphasize craftsmanship and natural material beauty.
- Modern & Contemporary: Sleek, minimalistic profiles with clean lines and often a flat or slightly rounded edge, perfect for modern interiors that prioritize simplicity and functionality.
- Victorian & Ornate: Elaborate designs with intricate carvings, crown moldings, and layered profiles, ideal for historic renovations or designs that aim for opulence.
- Rustic & Farmhouse: Often includes wider baseboards, beadboard, and distressed finishes for a cozy, inviting atmosphere.
Understanding these styles allows homeowners and contractors to select trim that complements the architectural character and interior design theme effectively. Patterns, profiles, and detailing can be customized further to create unique visual statements tailored to individual preferences.
Choosing the Right Finish Trim for Different Rooms
Not all finish trim is suitable for every room; considerations such as moisture, traffic, and style must guide selection:
- Living Rooms & Bedrooms: Typically feature traditional baseboards and crown moldings that complement the room’s style. Choose painted or stained wood based on design preferences.
- Bathrooms & Kitchens: Require moisture-resistant materials like PVC or MDF with waterproof paints or specific finishes to prevent warping and damage.
- Basements & Garages: Durability is key. Use hardy materials such as MDF or composite trims with high-quality paints for protection against humidity and wear.
- Entryways & Hallways: High-traffic zones benefit from durable, easy-to-clean finishes, possibly with wider baseboards and more substantial profiles to withstand bumps and scratches.
Matching trim profiles and materials to the room’s purpose ensures longevity, ease of maintenance, and a cohesive aesthetic. Consulting with design professionals or referencing style guides can optimize the decision-making process.
Steps to Properly Install Finish Trim for a Professional Look
Preparing Surfaces and Tools Needed
Proper preparation is critical for achieving a polished finish trim installation. Begin by inspecting walls, ceilings, and floors for irregularities or damage that might hinder a clean fit. Patch holes, fill gaps, and sand surfaces smooth to create an even foundation. Next, gather essential tools:
- Measuring tape and square
- High-quality saw (miter saw, hand saw, or power cutter)
- Hammer or finish nailer
- Nails or finish screws aligned with the trim material
- Level and chalk line for alignment
- Caulk, wood filler, and putty knives
- Sandpaper or sanding block
- Primer and paint or stain (if finishing after installation)
Ensuring all tools are sharp and in good working order reduces errors and speeds up the process. Safety equipment like goggles and dust masks should not be overlooked.
Measuring, Cutting, and Fitting Techniques
Accurate measurement is the foundation of a seamless trim job. Measure lengths precisely, accounting for wall angles and corner conditions. When cutting, use a miter saw set at the correct angles—typically 45 degrees for corners—ensuring tight joints. Test fit each piece before nailing to identify and make last-minute adjustments.
For complex cuts, such as around windows or irregular wall surfaces, use a coping saw or inside corner coping techniques to produce tight fits. Mark your cuts clearly and double-check measurements to avoid costly mistakes.
Securing Trim and Ensuring Precise Alignment
Once fitting is confirmed, secure trim using nails or finish screws, starting at one end and working along the length. For larger pieces or wider trim, a finish nailer can provide consistent, clean fasteners that minimize surface damage. Keep nails slightly below the surface and countersink them for easy filling and sanding.
Use a level and a straight edge to verify alignment regularly. In corners, miter joints should be tight with no gaps or overlaps. Employ shims or temporary wedges to fine-tune positioning if necessary. Once installed, fill nail holes with wood filler, sand smooth, and proceed to finish surfaces.
Best Practices for a High-Quality Finish
Surface Finishing: Sanding, Filling, and Smoothing
Achieving a flawless finish involves meticulous surface preparation. After installation, sand all edges and joints smoothly, removing any glue squeeze-out or imperfections. Use fine-grit sandpaper (220 grit) for a polished surface. Fill gaps, nail holes, and minor dents with a quality wood filler or spackle, then sand again for uniformity.
Choosing Paint, Stain, or Clear Coat for Durability
The final finish depends on the room’s function and aesthetic preference. For painted trim, prime before applying multiple coats of high-quality latex or oil-based paint, following manufacturer instructions for the best adhesion and durability. For stained trim, apply a wood conditioner first, then stain with a color of choice, followed by a clear protective coat such as polyurethane for added wear resistance. Clear coats also preserve natural wood grain for a more authentic look.
Tips for Achieving Even Texture and Color Consistency
Uniformity hinges on proper application techniques. Use high-quality brushes and rollers suitable for the chosen finish. Apply thin, even coats, allowing adequate drying time between layers. For staining, wipe excess stain slowly and evenly to prevent blotches. When painting, feather edges and lightly sand between coats if necessary. Always follow the product’s drying and curing times to ensure a smooth, consistent finish.
Common Challenges and Troubleshooting Finish Trim Projects
Dealing with Uneven Walls and Gaps
Uneven surfaces can cause visible gaps or poor fitting. To address this, custom-fit trim pieces by trimming longer sections to match irregularities, and use caulk or filler to conceal gaps. When installing, use shims or wedges behind trim to maintain level surfaces. For significant imperfections, consider ripping the affected wall sections or applying wall patches prior to trim installation.
Managing Complex Cutouts and Corners
Corners and cutouts often present installation challenges. Use coping techniques where one piece is cut to fit against the profile of the adjoining piece, ensuring tight joints. For intricate cutouts (e.g., around electrical outlets or uneven window frames), you may need to create custom templates. Detailed measurements and careful cutting are essential, and a significant proportion of professional-quality work relies on patience and precision during these steps.
Preventing Warping and Ensuring Longevity
Material selection and environmental control are key. High humidity and temperature fluctuations can cause wooden trim to warp or crack over time. Using moisture-resistant materials and applying protective finishes help extend lifespan. Additionally, proper fastening techniques—avoiding over-tightening nails and ensuring stable supporting surfaces—reduce stress on the trim and prevent deformation.
Maintaining and Renovating Finish Trim Over Time
Cleaning and Minor Repairs for Long-Lasting Appeal
Regular cleaning with gentle, non-abrasive cleaners preserves the finish. Address chips, scratches, or minor damages promptly by sanding, filling, and repainting or staining affected areas. Small repairs keep the trim looking fresh and prevent further deterioration.
Refinishing Techniques for Outdated or Damaged Trim
Refinishing can dramatically improve the appearance of older or damaged trim. Sand thoroughly to remove previous finishes, then apply a primer suitable for the surface followed by a fresh coat of paint or stain. For heavily worn areas, consider replacing sections or adding decorative overlays to modernize the aesthetic.
Integrating New Finish Trim Styles into Existing Decor
When updating interiors, select trim profiles and finishes that complement current design themes. Combining traditional and modern elements—such as pairing ornate crown moldings with minimalist wall colors—creates a layered, cohesive look. Incorporating contrasting colors or textures also adds visual interest and personalization.